Day 3 - Start A Blogging Business
IMPORTANT:
Right now, we have a special deal and bonuses for our students only that are ready to start their blog. Get all the details here.
First of all, did you start your blog yesterday? We want to celebrate it because it is such a big step.
Post in the Facebook group with #Celebrate and let us know the domain name of your new site. We are always so happy to see these, and we will all #Celebrate with you.
- Action Step 1: Join Facebook Group
- Action Step 2: Pick Your Niche
- Action Step 3: Pick a Domain Name
- Action Step 4: Start Your Website
- Action Step 5: Claim your Bonuses
- Action Step 6: Post with #Celebrate in group
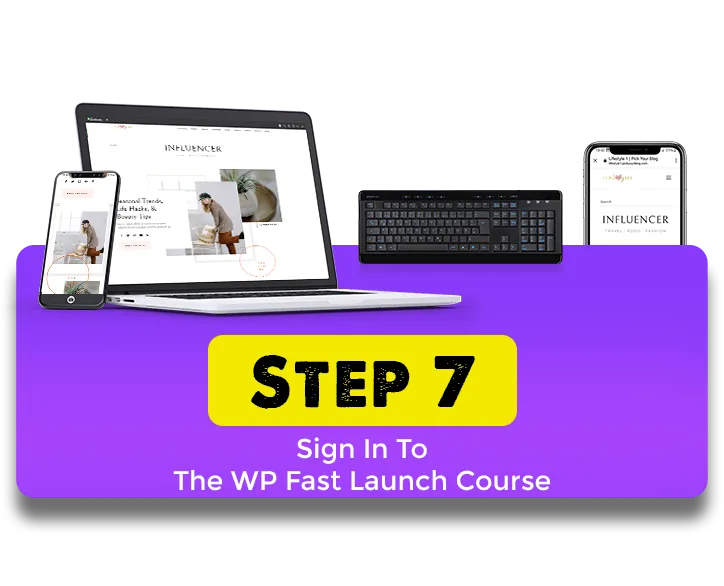
- Action Step 7: Sign in to the WP Fast Launch Course and learn how to use your blog.
- Action Step 8: Pick Your Theme!
- Action Step 9: Get your logo started or create one yourself.
Let’s get started!!
When you signed up for your blog through our link, you automatically became eligible to receive our WP Fast Launch course for FREE (this costs $197 separately) as one of your bonuses.
Action Step 5 prompted you to fill out this form to claim your bonus. If you completed that step, you’ll have instructions in your email to access WP Fast Launch.
If you’ve filled out the form, but haven’t received the email from us, please email us right away and we will help you out. Make sure to include your domain name and email address you used to establish your Bluehost account.
***If you filled out the form, and did not receive the email (or are having any issues with access), please email us at reese@itsalovelylife.com so we can help you.
WP Fast Launch is our WordPress/Bluehost tutorial course. It is a collection of short videos that will walk you through the entire process of setting up your blog and how to use WordPress. The course is designed to save you many hours of time (and frustration) by showing you the easy steps to working with WordPress and how to get your site setup properly.
The videos are short and to the point and they show you what you need to know (and leave out the advanced capabilities of WordPress that you won’t need now that can simply bog you down).
The instructions for Step 7 are simple:
- Begin going through the lessons and start learning how WordPress works.
- You can easily get through the whole WP Fast Launch course in 2 hours, but there is no need to complete it all right now if you don’t have time. The important thing is to start the course and chip away at the rest of the sections.
- Rewatch any videos that don’t immediately make sense to you. They are short, so if something doesn’t click for you right away, just watch the video again.
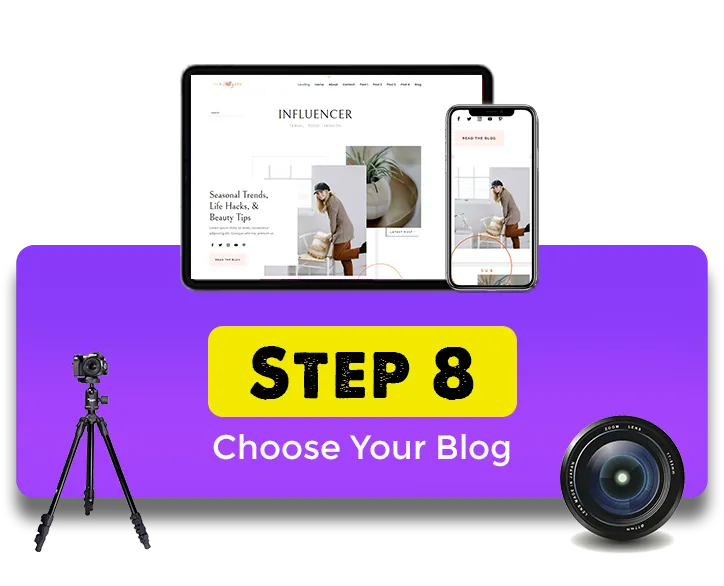
Action Step 8 is a fun one! Simply look for a theme that you can use for your blog.
There are some FREE themes that come included with your standard WordPress installation with Bluehost. And, there are also paid/premium themes that you can choose as well.
We normally purchase our themes for our blog at Themeforest. This is where you will see a wide variety of different designs from 1000's of different designers.
Search for a theme that you'd like to start with and either purchase it or install it for free.
Don’t let this decision hold you back from moving forward with the course. A theme can always be changed in the future (we have done it many times).
The last part of today’s course involves getting your logo started. A logo can be basic (just text) or a little more complex, but it should convey the feel of your site to your visitors and should be professional.
Here is our logo for your reference:

There are many places to get a logo created for you on the internet. Probably the cheapest place to go would be Fiverr. There are many logo providers there that will get you a logo for $5-$25. The fee varies based on the designer experience and how fast you need it. Look around, read the feedback, and see if the designer creates logos with the feel that you are looking for.
We created this blog post as a resource based on thousands of logos that our students have ordered on Fiverr:
Our 10 Favorite Logo Designers On Fiverr.
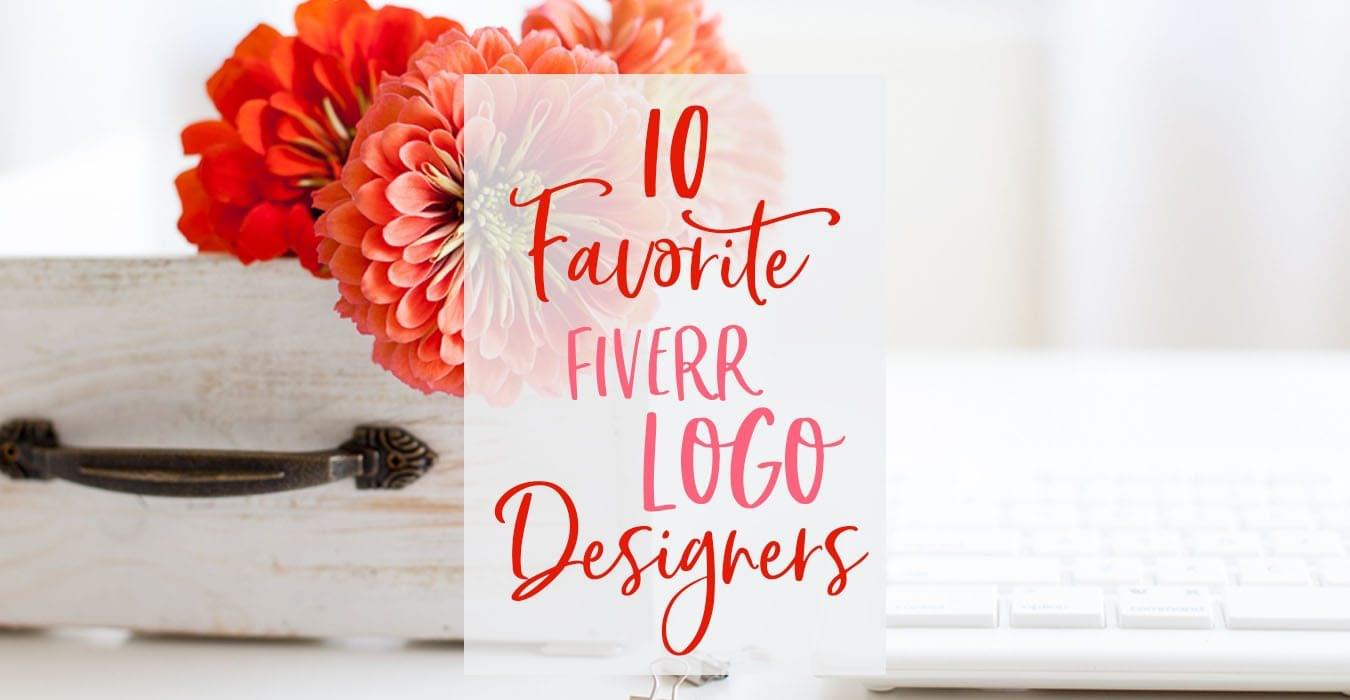
We recommend you browse the designers featured on this blog post for some quality logo designer options.
Deciding on a logo is sometimes difficult and we’d love for you to use the group for feedback.
Need help deciding between a couple of different logo options? We always have a weekly logo feedback thread linked in the Group Announcements Section where you can ask for feedback from the community.
Note: If you need feedback on anything related to your logo, make sure to post it in the designated logo post in the announcements section. Individual logo related posts will not be approved and will be directed to the weekly logo post to keep the group as organized as possible.
Some students also create their own logos for free. There is a design website called Canva that is great for simple designs. They even have a free option for their app!
For Action Step 9, your goal is to either start creating your own logo or hire a designer to get your logo started. It really doesn’t matter to us who you go with, but take action now and get the process started. The logo design process normally is a little back and forth with the designer, so it could take a number of days until you have the completed logo in hand. The key is to take action!
Day 3 Assignment Recap
Action Step 7: Sign in to the WP Fast Launch Course and Start Learning WordPress
Action Step 8: Choose a Theme
Action Step 9: Get your logo started
Ready to keep going?
© Copyright 2020. It’s a Lovely Life® – by Sale Pros Corp, Pete & Heather Delaney Reese.